Wednesday, February 29, 2012

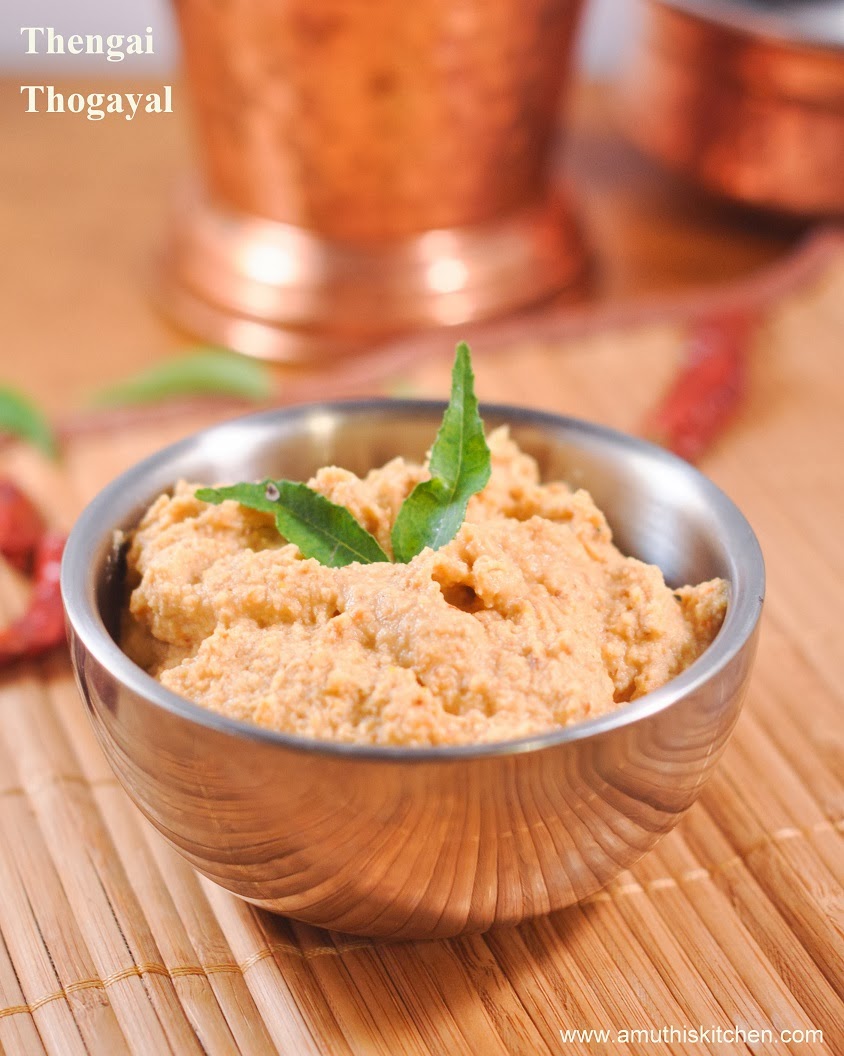
THENGAI THUVAYAL | COCONUT THOGAYAL

Though my mom makes Thengai thuvayal often, I developed a special affinity to this thuvayal only during my stay in college hostel . It is an unwritten rule that whenever someone returns from home after a vacation have to bring some home made goodies.One of my friend Valli used to bring lots of sweets and savouries along with Idli and Thengai thuvayal for the dinner.

After finishing the idlis we will still have left over thuvayal.When there is scarcity of good home made food, who wants to trash this thuvayal. We used to eat it as such when one good soul came up with the idea of dipping the murukku and papad in thuvayal.Sounds crazy? But believe me it was delicious.The crunchiness of the papad combined with the hot, sour and subtly sweetened thengai thuvayal was surely a bliss.
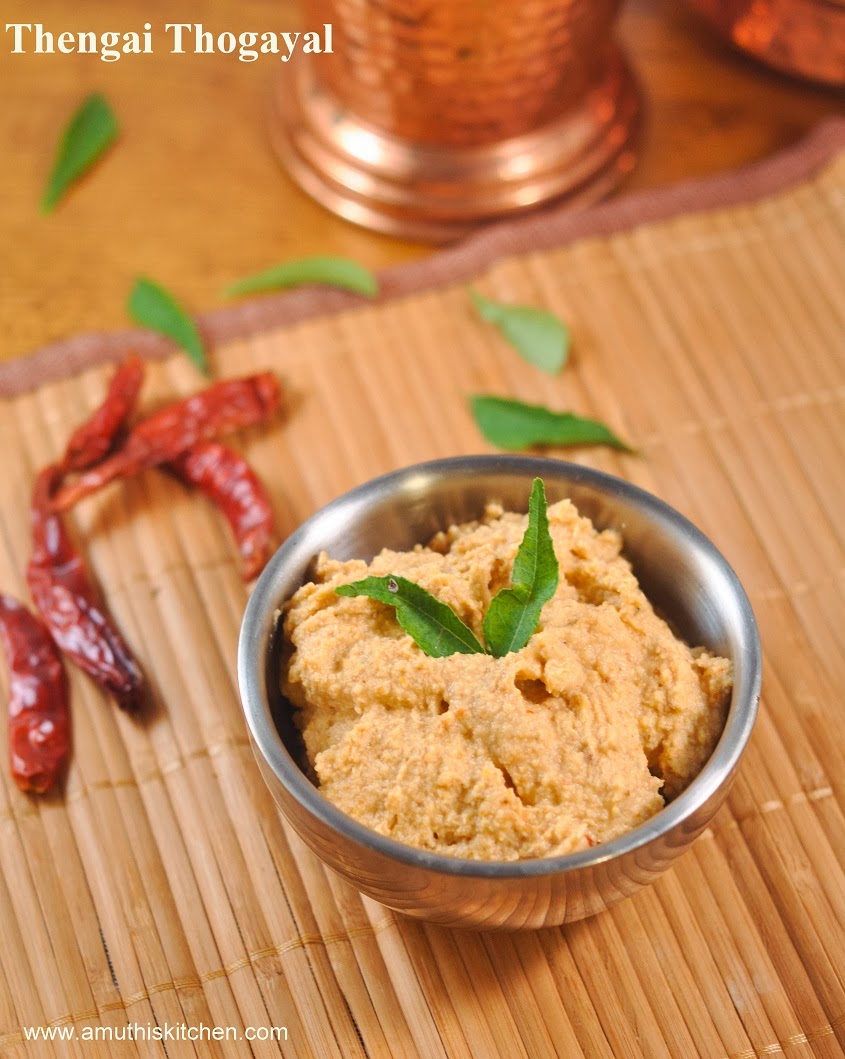
Thengai Thogayal


Once I was talking to my mom about this thuvayal and she told that it is nothing but the regular thengai thuvayal.Since I could relate this food only to my college memories, I named the recipe as 'Senbagavalli Thuvayal' when I noted the recipe in my notebook back in 2001!
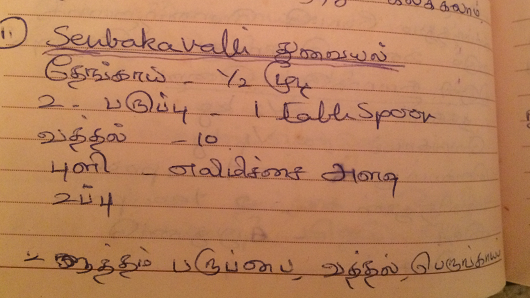


Ingredients


Grated/Finely chopped coconut1/2cup
Urad dhaal2 tablespoon
Channa dal1 tsp   
Salt1/2 tsp
Red chilli1 or 2
Tamarindsmall gooseberry size
Asafoetida a pinch
Oil1 tsp
Curry leavesa sprig (Optional)
Procedure:

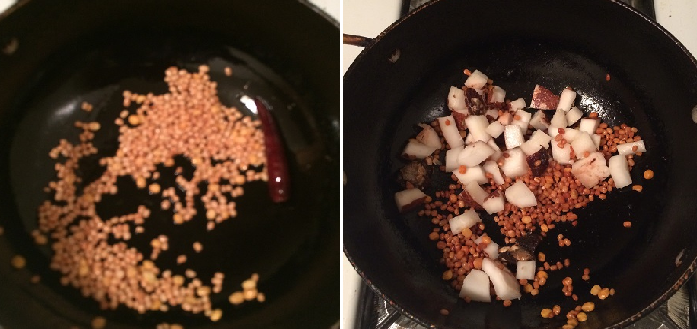
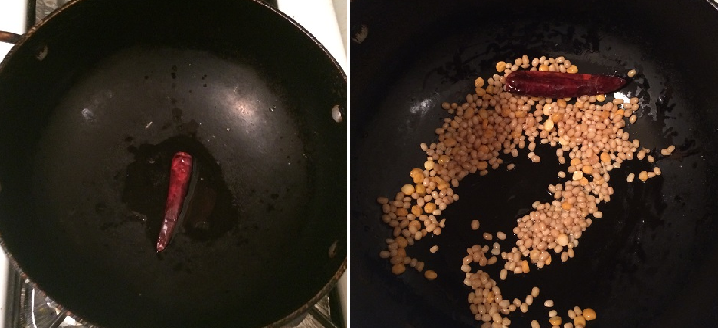
  1. Heat 1 tsp of oil in a pan and first fry the red chillies until it puffs up a bit.
  2. Then add channa dal and urad dhal and fry until golden brown
  3. Next add the tamarind and asafoetida and fry for few seconds
  4. Switch off the flame and slightly fry the coconut in the same heat
  5. Allow it to cool and blend everything together with little water (Approx 1/4 cup)


Thengai Thogayal


Sending this to Walkthrough Memory Lane


Sunday, February 26, 2012

Pori Upma

I learnt this recipe from one of friend Nandhini during my college days.She is from Srilanka and used to visit our place during semester holidays and she used to cook a lot of specialty dishes from Srilanka.This upma is one among them.As soon as we both reach our home on friday night, she used to make this in a jiffy.I have not made these myself so far.Nearly after a decade I suddenly remembered this upma.The way she prepared this was still fresh in my memory and I immediately prepared this for evening snack!


Ingredients
Pori3 cups
Onion chopped1 small sized
Tomato1 medium sized
Green chillies2
Turmeric powdera pinch
Chilli powder1/4 tsp(optional)
Coriander powder1/4 tsp(optional)
Oil2 tsp
Mustard seeds1/2 tsp
Urad dhal1/2 tsp
Curry leavesa sprig
Saltto taste
Lemon juice1/2 tsp
Chopped Coriander leaves2 tablespoons

Procedure:
Step1:
Heat oil in a kadai and add mustard seeds. Once it starts spluttering add urad dhal and curry leaves.


Step2:
Add the onions and green chillies and fry until translucent


Step3:
Add the chopped tomatoes and cook well. Add turmeric powder, chilli powder and coriander powder and let it cook


Step4:
Wash the puffed rice under running water. Do not soak. Otherwise it will become soggy.Squeeze the excess water and add it to the cooked onions and tomatoes.


Step5:
Mix well and allow to cook not more than 2 minutes


Step6:
Switch off the flame and add lemon juice and garnish with chopped coriander leaves

Wednesday, February 22, 2012

Microwave Corn Flour halwa

I bookmarked this recipe from Raks Kitchen long back.This is a very easy sweet to prepare in Microwave and delicious as well.Also it consumes very less amount of ghee compared to stove top version.


Ingredients
Corn Flour1/2 cup
Sugar1.5 cups
Water2 cups
Ghee3 tsp
Cardamom2 or 3 pods
Food colora pinch
Broken Cashew1 tablespoon

Procedure:
Step1:
Mix corn flour, sugar,food color and water together without lumps.


Step2:
Microwave on high for 6 minutes with the bowl open
Stir it once in between


Step3:
Take the bowl out and mix well and microwave in high for another 6 minutes
Stir the mixture for every 2 minutes.
The final mixture should be glossy and look like a jelly


Step4:
Fry the cashews in ghee and add it to the mixture


Step5:
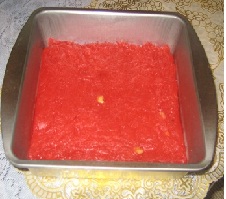
Pour this in a greased plate and allow it to cool


Step6:
After 30 minutes cut it into desired shapes


Notes:
  1. Every microwave is different.Mine took around 8 minutes in step 3.The consistency that we need to look for is, the mixture should turn very shiny and glossy and also resembles jelly
  2. Do not reduce the amount of sugar.You may not get the same texture
  3. I used a 7"X7" baking pan to pour the halwa
  4. Do not refrigerate this halwa.It stays good for 3 days (may be even more. I have not tried)
Click here for stove top version of corn flour halwa